
I taught a "Watercolor for Beginners" workshop last week and I thought it might be nice to provide homemade transfer paper for my students to use. I have heard about the positive virtues of the homemade stuff, especially from fellow WAM (Women Artists Mentors) member, Carrie Waller. I thought I know what to do, but when things went awry I messaged her on our mentor's group private Facebook page and she set me straight. Such is the beauty of a mentor group, having instant help and support whenever you need it! I don't always condone the use of transfer paper for every painting. I paint plein air and from life and draw my image directly on the paper sometime. When I've taken and composed a photo that already has a good composition and design elements or I have manipulated a photo in Photoshop for design and composition, I use it as a shortcut to get my image on the watercolor paper. This works great for smaller paintings and can be a bit trickier for larger one. Essentially you need your image (a photo or drawing) to be the same size as your finished painting to trace over it with the transfer paper in the middle graphite side down between your image and the watercolor paper. This will be a huge timesaver in the workshop so students can get their image on the watercolor paper quickly and will have more time for painting.
What are the positive virtues of homemade transfer paper as opposed to the one you buy in a role that comes in a box the size of plastic wrap or foil?
It's less waxy and doesn't leave any other unnecessary wax or residue on the watercolor paper.
It's economical! One homemade sheet can be used over and over again. The other stuff can me used more than once but eventually it gets spent and you have to toss it.
If you work large and need a specific size you can make it any size you want!
A con is it can be a messy process but one I felt was worth it.
So here is how you make it.......
Materials:
- Tracing Paper
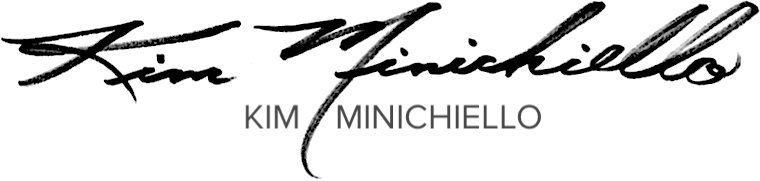
- 6B graphite stick
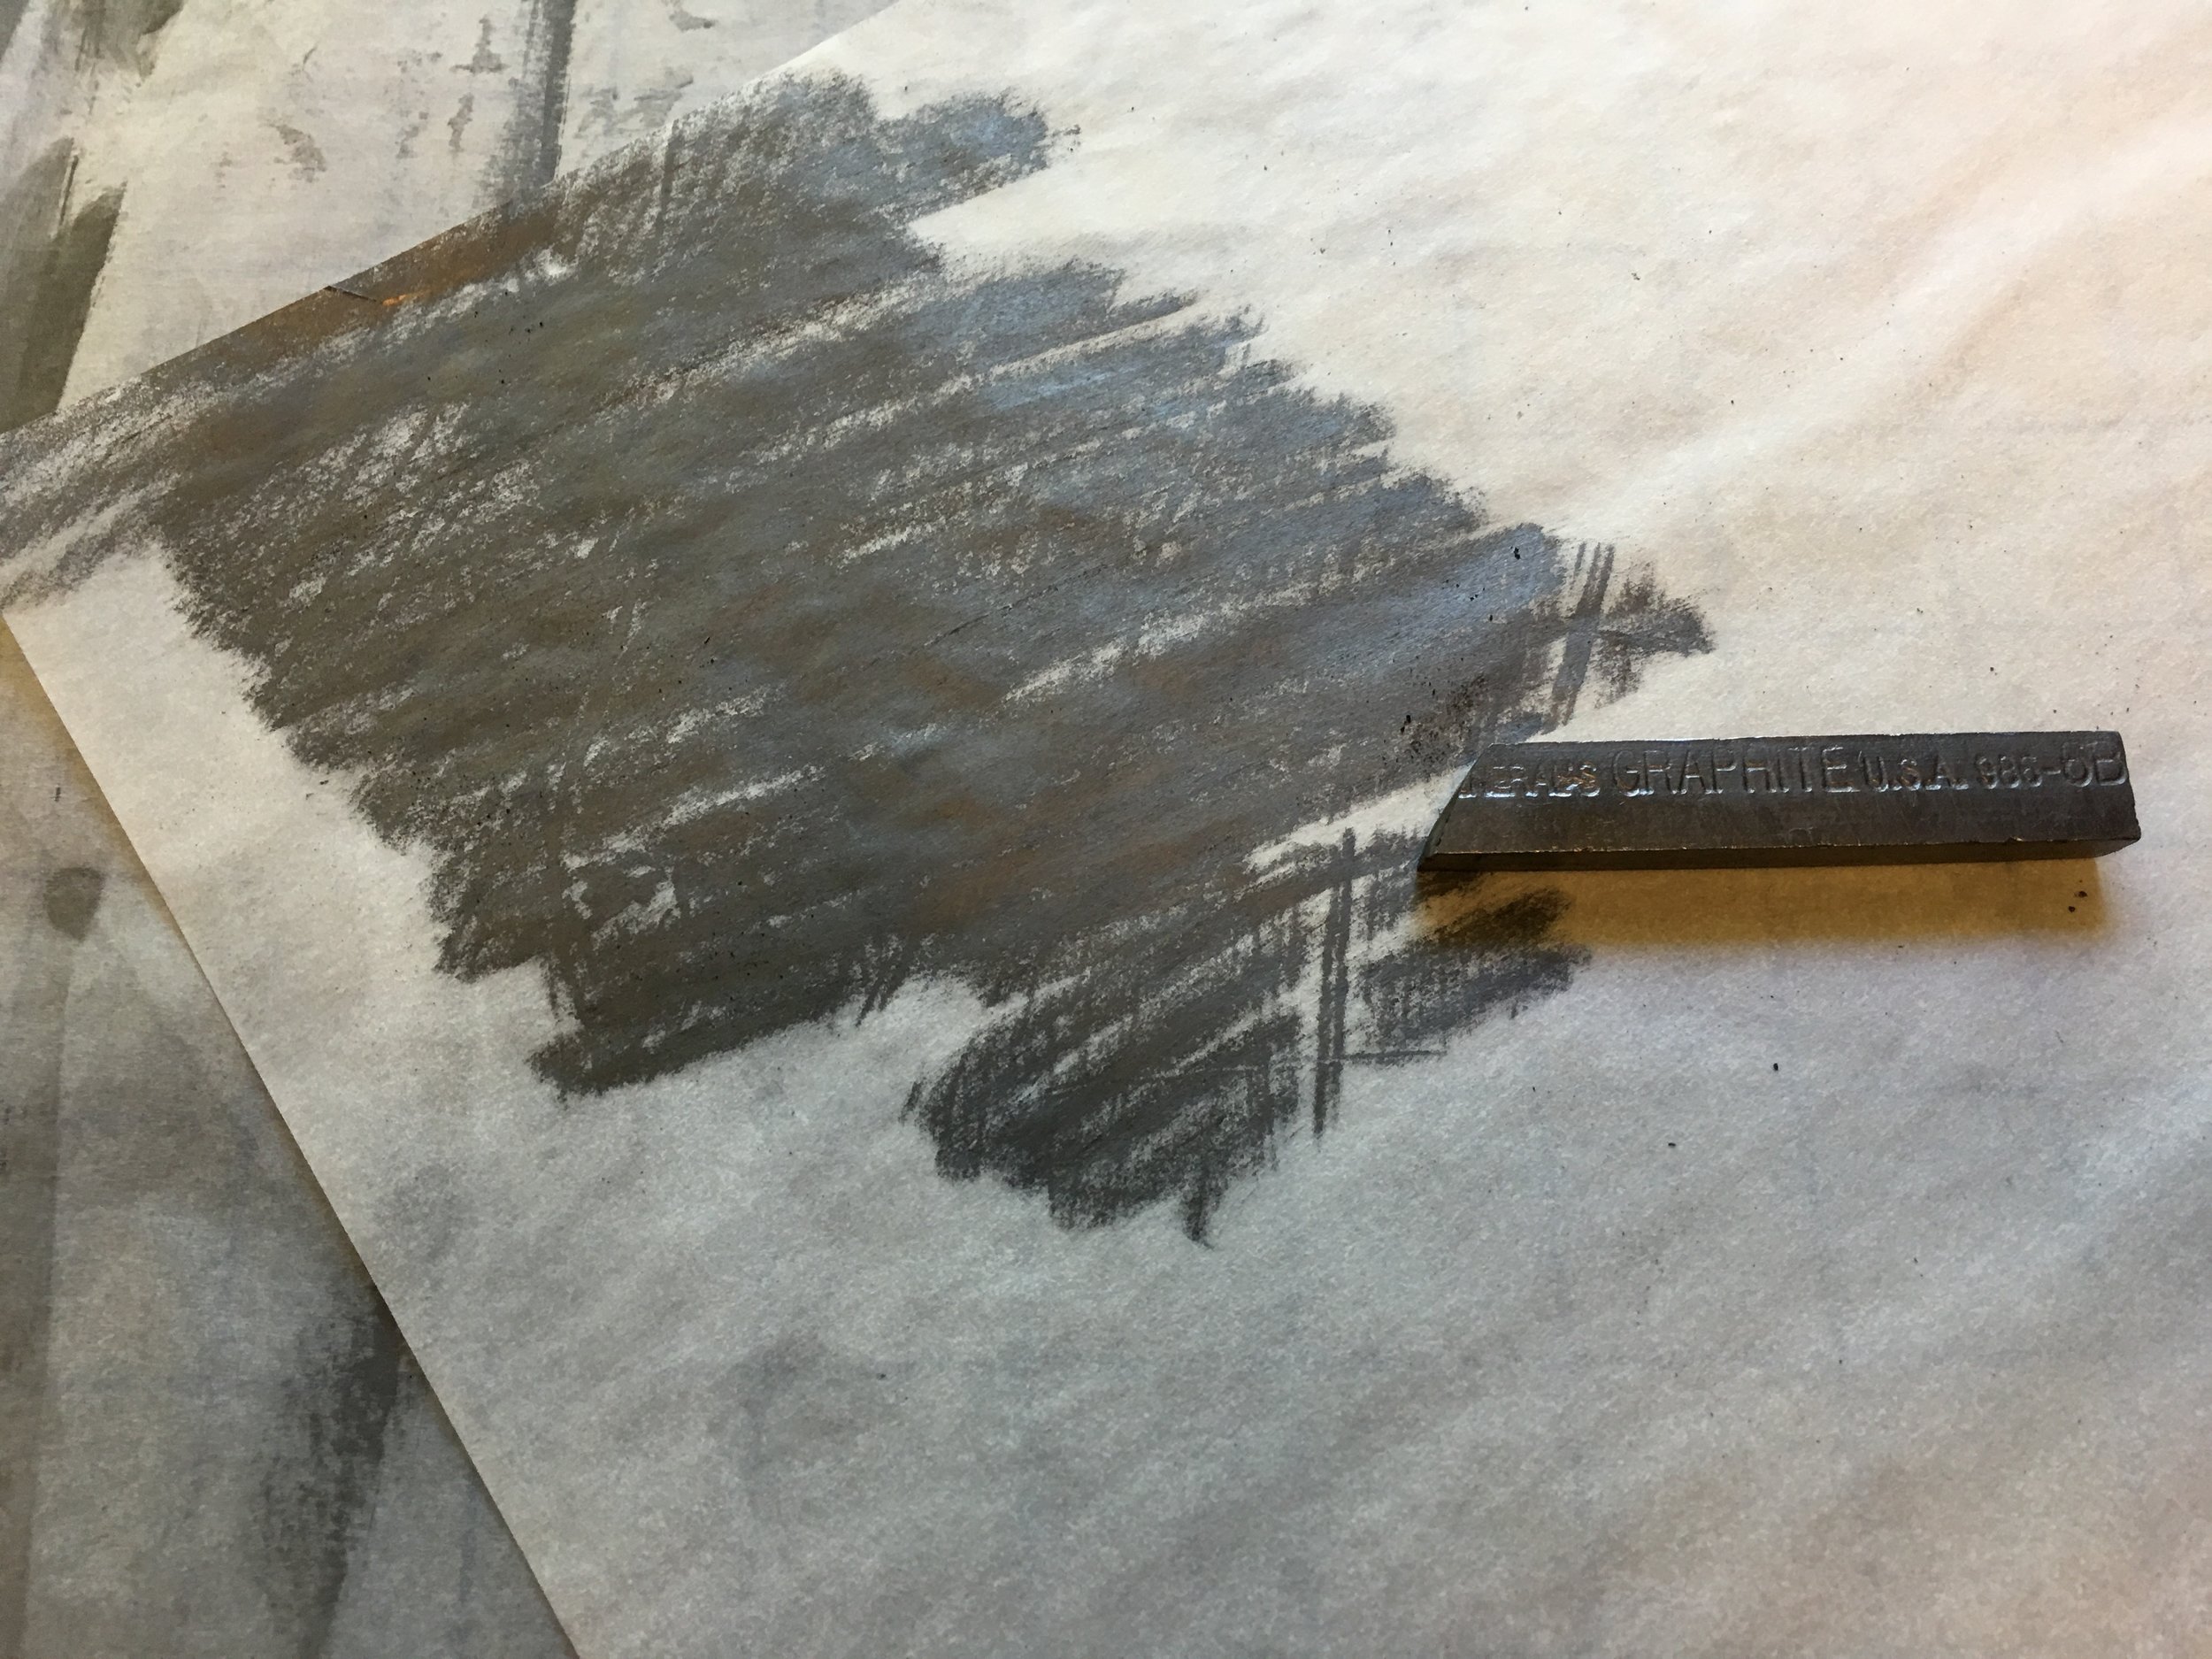
- Jar of powdered graphite (this isn't absolutely necessary but allowed me to cover the paper quicker)
- Cotton Pads
- Rubbing Alcohol
- Old cotton rag or wash cloth

Coat your transfer paper as heavy as you can with the graphite stick. Use elbow grease your arm will get sore but it's good exercise. :-)

To fill in any gaps use a little of the powdered graphite and with a cotton pad rub it all over the paper. The goal is to not see any white of the tracing paper.

When it's fully covered, take the rubbing alcohol on a cotton pad, not doused just lightly coated a bit more than damp (blot on a paper towel first if you need to) and with light circular motion rub it over the graphite coated side.You will start to see the graphite melt, if you will, into the paper. Don't rub too hard or you may take all the graphite off.
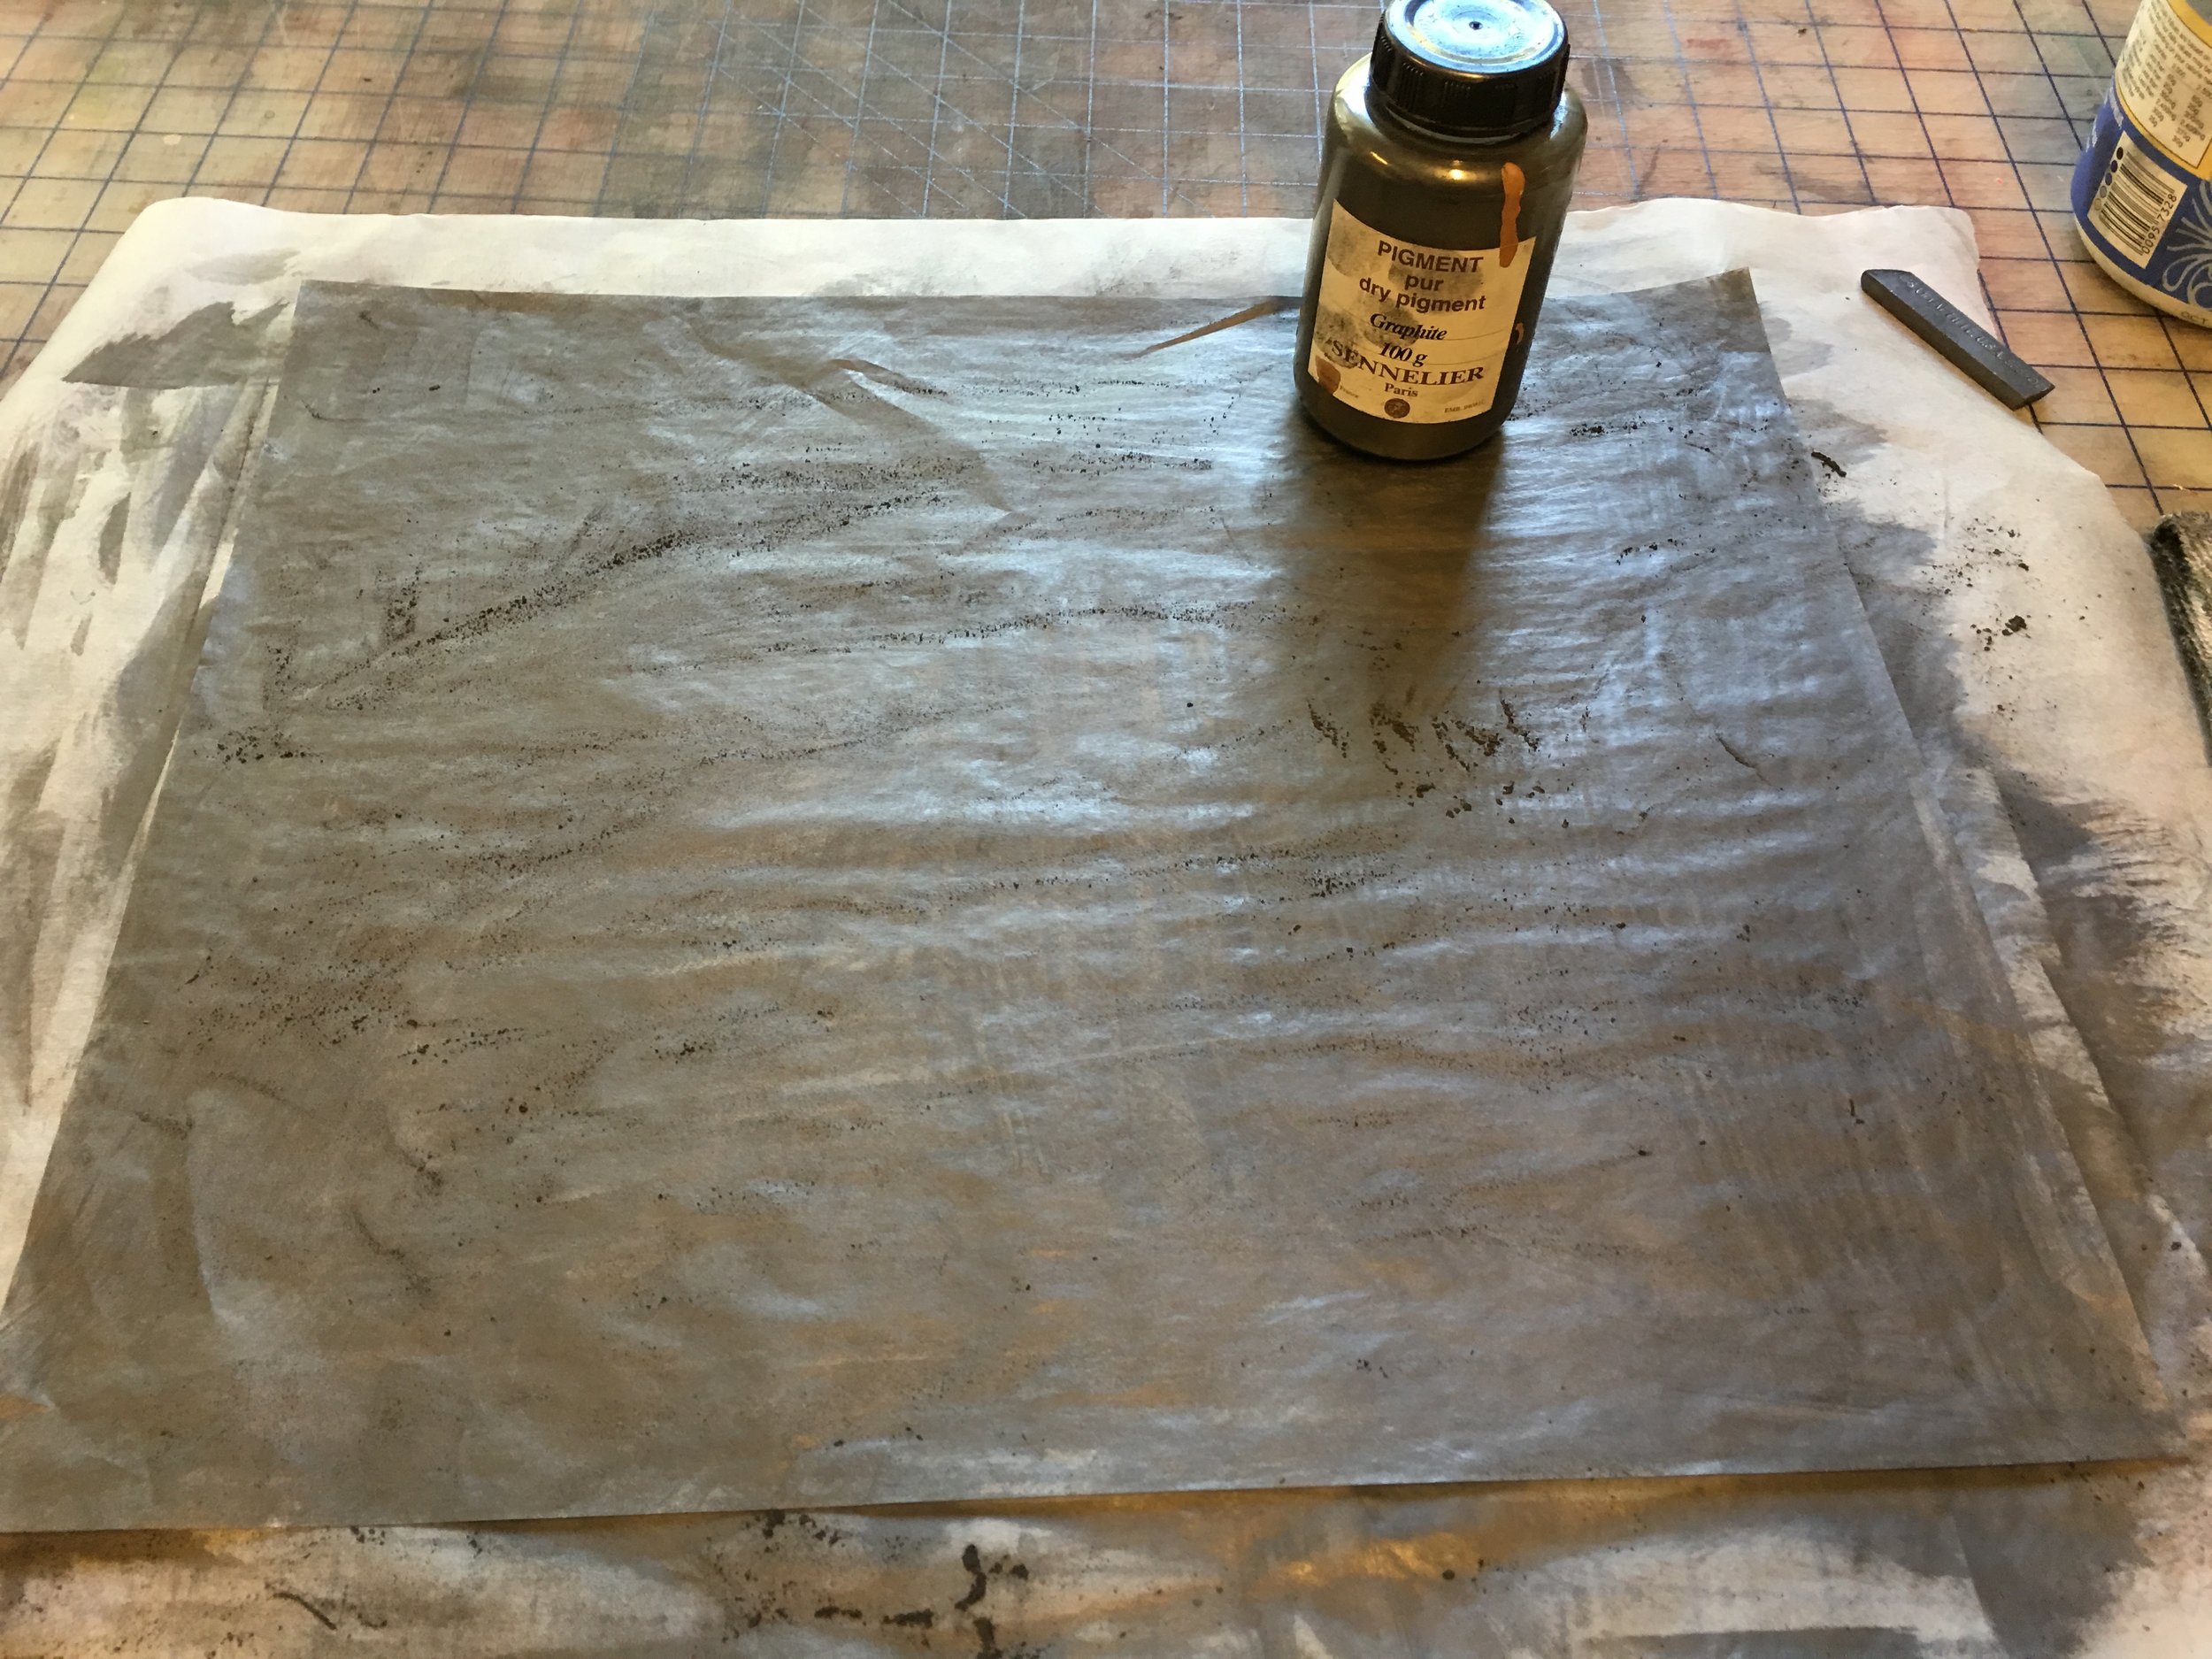
Final step after the alcohol burnish with a dry cotton rag or wash cloth.
That's it! You will notice it rolls itself up into a tight little roll. When you use it unroll it and place it graphite side down on your watercolor paper and then the printed image or drawing you want to transfer on top and trace with a pencil using a medium to heavy pressure. A regular pencil works best not mechanical pencils. Check that you have the right pressure early so you don't trace the whole image and realize you were too light handed.
Would love for you to leave a comment if you found this helpful!